


Start with warm water and dish soap and a long soak. That rescues most brushes with dried acrylic on them. Escalate only if it fails, because everything stronger costs you some bristle life — and one habit matters more than any of the methods: never let a brush stand resting on its bristles.
The paint has the same problem as the brush, and how to fix dried out paint separates what can be rescued from what cannot.
A correction to something repeated on almost every page about this: dried acrylic is not easy to remove. Wet acrylic rinses out in seconds. Once cured it is a flexible plastic film bonded to the bristles, and it is genuinely stubborn. Knowing that saves you from assuming you did something wrong.
Before anything else: how brushes actually die
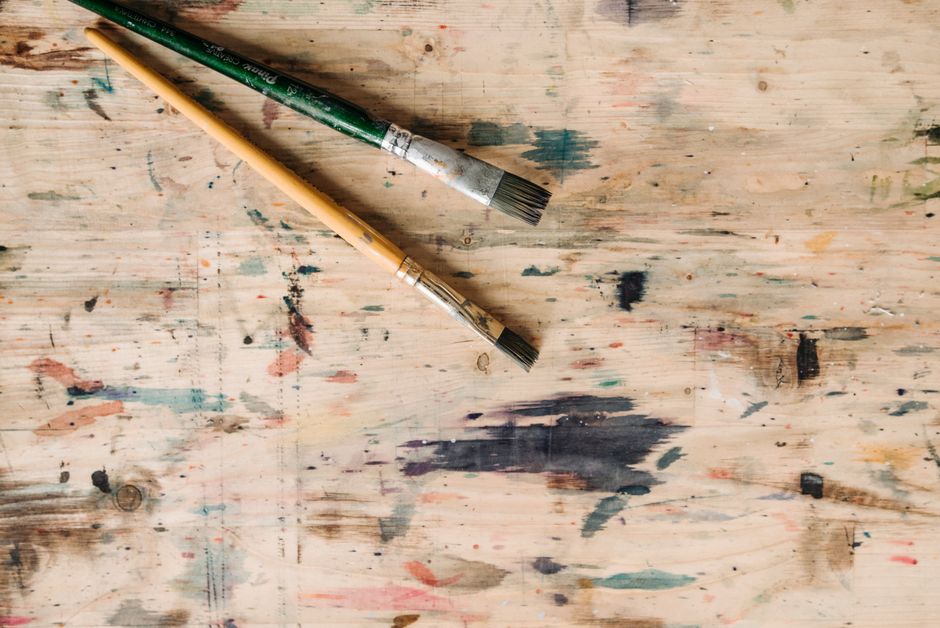
Two failure modes account for nearly every ruined brush, and neither is about paint.
Bent bristles. A brush left standing in a jar bends against the bottom and sets that way. No cleaning method reverses it.
A loosened ferrule. The metal collar is glued. Prolonged soaking works water into it, dissolves the adhesive, and the head starts shedding or falls off entirely.
So when a method below says soak, it means suspend the brush so the bristles hang clear of the bottom, with the liquid covering the bristles but not sitting around the ferrule. Clip it to the rim, or drill a hole in a lid. This one detail is the difference between a soak that saves a brush and one that finishes it.
Dried acrylic and other water-based paint
Work through these in order and stop as soon as it works.
1. Warm water and dish soap
The first and usually the last thing you need. Warm, not hot — hot water softens ferrule glue.
Suspend the brush in warm soapy water for a few hours. Then work the softened paint out with your fingers, from the ferrule outward toward the tip, never the other way. Rinse, re-soak, repeat. Two or three cycles will clear a brush that has been dry for weeks.
Then wash properly with soap in your palm, reshape the head with your fingers, and dry it flat.
2. Isopropyl (rubbing) alcohol
The one thing that genuinely dissolves cured acrylic. It is also drying to bristles, so treat it as a targeted tool rather than a bath.
Dip only the bristles for a few minutes, work the paint loose, then wash immediately with soap and water to get the alcohol out. Do not leave a brush sitting in alcohol — synthetic bristles go brittle and natural hair is stripped of its oils.
3. Vinegar, with a caveat
White vinegar softens dried acrylic reasonably well, and an overnight soak at room temperature is a mild, cheap option.
You will find advice everywhere to simmer the brushes in vinegar on the stove. It does work faster. It also produces genuinely unpleasant fumes, and heat is exactly what loosens the glue in the ferrule. If you do it, keep it below a simmer, keep the room ventilated, keep it brief, and accept that you are trading brush life for speed. The overnight cold soak is the better trade.
What about fabric softener?
It does soften bristles and it does help lift paint, and it is a long-standing decorator's trick for latex house-paint brushes.
For artist brushes it is less useful than it sounds. It leaves a conditioning residue that has to be washed out thoroughly, and any left behind can affect how the next load of paint sits. Soap and water first.
Dried oil-based paint
Water will not touch this. You need a solvent matched to what is on the brush.
- Oil paint and oil-based varnish: mineral spirits or a dedicated brush cleaner.
- Shellac: denatured alcohol.
- Lacquer: lacquer thinner.
Work in a ventilated space, dip and swirl rather than soaking for long stretches, and change to clean solvent rather than persisting with a jar full of dissolved paint. Follow with soap and warm water to get the solvent residue out, then reshape and dry flat.
Do not use solvents on brushes that only ever touch acrylic. Mineral spirits and turpentine are unnecessary there and hard on synthetic bristles. Reach for solvent because the paint requires it, not because the brush is stubborn.
When a brush is actually finished
Worth knowing so you stop spending an evening on a lost cause.
- Paint cured in the heel. The point where the bristles enter the ferrule is the hardest place to clean and the first to clog. Once that block has set, the brush will never regain its shape or hold a decent load.
- Splayed bristles that no longer come to a point after washing and reshaping.
- A loose or wobbling head. The glue is gone.
A brush in any of those states is a texture tool now, not a detail brush. That is a genuine use — stippling and scrubbing want a ruined brush — but stop trying to rescue it.
Not having to do this at all
Prevention costs about fifteen seconds and it is entirely the point.
- Rinse while you work. Acrylic skins over in minutes, not hours.
- Never stand a brush in the water jar. Lay it flat, or suspend it. This ruins more brushes than dried paint does.
- Wash properly at the end — soap in your palm until no color comes out, working from the ferrule outward.
- Reshape the head with your fingers while damp and let it dry flat. Store bristles-up once fully dry, never bristles-down.
- If you must pause mid-session, wrap the head in cling film. It will still be usable an hour later.
Our guide to cleaning fine-tip brushes goes further on the small detail brushes, which clog fastest and matter most.
If you are starting fresh
Every Ledgebay paint by numbers kit comes with its own brushes, so a set of ruined ones is not a reason to stop painting. You can see the full range in the shop, and there is a custom option made from your own photograph if you would rather paint something personal.


