


Glass is an unforgiving surface. It is smooth, so there is nothing for paint to key into; it is transparent, so every color behaves differently than it does on white canvas; and anything you paint on a glass you drink from raises a question about what is safe to put near your mouth.
None of that makes it difficult. It just means the paint you use matters more here than it does on canvas.
Use paint made for glass
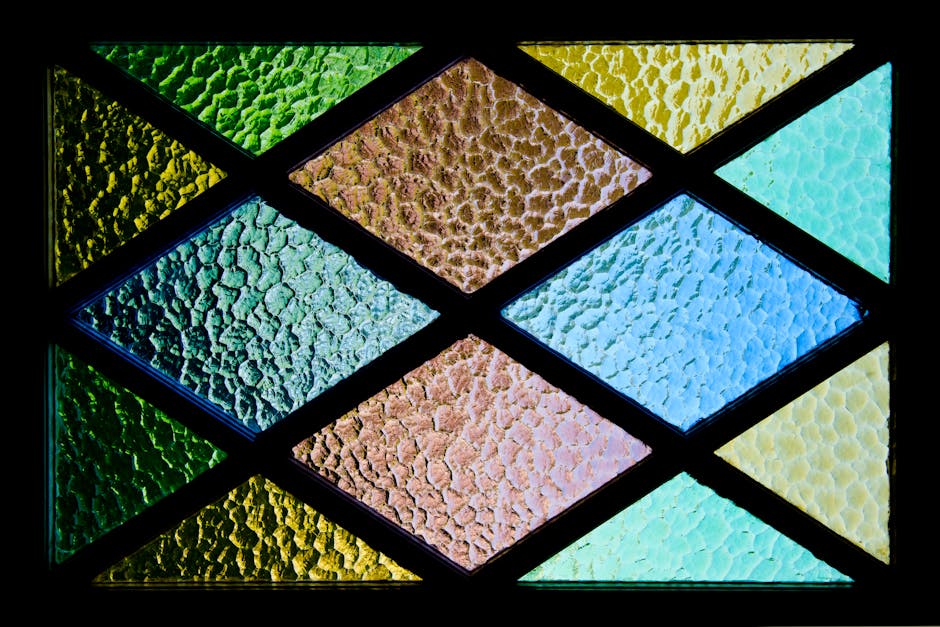
The single most common mistake is reaching for ordinary craft or artists' acrylic. It will go on, it will look fine while it dries, and then it will scratch with a fingernail and lift off in sheets the first time the piece gets handled or washed. Acrylic needs a slightly absorbent surface to grip. Glass gives it nothing.
What you want is a paint sold specifically for glass and ceramic, usually labeled as a glass enamel. These are still water-based and still acrylic in chemistry, but they are formulated to bond to a non-porous surface, and most of them can be oven-cured afterwards to harden the film properly.
The other option is solvent-based glass paint, which is what traditional stained-glass imitation work uses. It gives the deepest transparent color and it smells, so it wants a ventilated room.
The safety part, before anything else
Glass and ceramic paints are widely sold as non-toxic. Non-toxic is not the same as food safe, and almost none of them are rated for food contact.
In practice that means:
- Leave the top inch of a drinking glass unpainted. Nothing on the rim, nothing where a lip goes. This also happens to feel better to drink from.
- Do not paint the eating surface of a plate or bowl. If you want a painted plate you will actually use, paint the underside of clear glass and let the food sit on the unpainted front. That is the standard way it is done.
- Vases, jars, lanterns, candle holders, panels and window pieces are all fair game, because nothing is going in your mouth.
If a bottle claims food safety, that claim needs to be on the bottle, not inferred from the word non-toxic.
Preparing the glass
Almost every failure to adhere comes down to a surface that was not clean. Glass carries oils from handling, and new glassware often has a residue from manufacturing.
Wash the piece in warm soapy water, dry it, then wipe the area you are painting with rubbing alcohol or white vinegar on a lint-free cloth. Let it flash off, and stop touching that area with your fingers. Some glass enamels also sell a surface conditioner, which is worth using if the maker recommends it for their paint. Ordinary canvas primer or gesso is not the answer here.
What to look for in the paint
Opacity, and deciding what you are making
This is the real choice, and it is a choice rather than a quality question.
Transparent glass paint lets light through, so the color glows when the piece is held up or lit from behind. It is what makes stained-glass imitation work look like stained glass. The trade is that transparent color shows every brush mark and every thin patch.
Opaque paint covers the glass completely and behaves much more like painting on canvas. It is far more forgiving of uneven coverage, and it kills the transparency that made you choose glass in the first place. Frosted finishes sit between the two.
Neither is better. Decide whether the piece will be lit from behind. If it will, go transparent.
Consistency
Glass paint wants to be thin enough to flow into an even film and thick enough not to run down a curved surface. Straight from the bottle is usually right, and thinning it with water is usually wrong, because water reduces the binder that is doing the adhesion work.
Runs are the most common problem on wine glasses and bottles, since you are painting a vertical curve. Work in thin coats, keep the piece turning, and let each coat set before adding another.
Mixing
Stay within one brand and one line if you intend to mix colors. Different makers use different binders and cure differently, and a mixed film can end up with one part that hardens and one part that stays tacky.
Brushes
You need fewer than the kits suggest. A small flat or round for filling areas, and one fine round for outlines and detail, will do almost everything.
What matters is spring — the bristles returning to a point after each stroke. On a slick surface a floppy brush drags the paint into ridges. A synthetic filament brush with a bit of snap is ideal, and it is what most glass painters use.
A note on the usual advice about hair: sable is prized for its spring, not its softness, and squirrel is one of the softest natural hairs rather than a stiff one. For glass you want spring rather than softness either way, which is why synthetics do so well here.
Some techniques want tools that are not brushes at all. Outlining liner, applied straight from a nozzle, is how the lead lines in stained-glass imitation work get their raised edge, and a sponge gives an even frosted field faster than any brush.
Whatever you use, wash it out before the paint sets. Glass enamel is harder to remove once cured than canvas acrylic, and our guide to cleaning fine tip brushes applies exactly the same way here.
Curing, and whether it survives washing
This is where most painted glassware fails, and it is entirely avoidable.
Air-dry glass enamels are dry to the touch in under an hour and nowhere near cured. Manufacturers typically ask for around three weeks before the piece is washed, and the number is on the bottle. Wash it after two days and the design will come off in the sink.
Oven curing is the better route if the paint allows it. The usual instruction is to let the piece air dry for a day, put it into a cold oven, bring the oven up to the stated temperature, hold it there for around half an hour, then switch the oven off and let the glass cool inside it. Going into a hot oven, or out of a hot oven onto a cold counter, cracks glass. Follow the temperature on the bottle rather than a number from an article, including this one.
Even properly cured, treat painted glassware as hand-wash unless the paint explicitly says top-rack dishwasher safe after baking. Dishwasher detergent is aggressive.
Can you use leftover paint from a paint by numbers kit?
An honest answer, since we sell those kits and it is a fair question.
You can put it on glass and it will look good while it is wet. It is craft acrylic made for a primed cotton canvas, not a glass enamel, so it has nothing to grip and it cannot be oven-cured. On a decorative panel that will hang untouched behind glass, it will last. On anything that gets handled, washed or wiped, it will scratch off, and there is no varnish that reliably fixes that on a surface this smooth.
So: fine for a one-evening experiment on a jar or a lantern. Not the paint to use on something you want to keep.
While we are on the subject, two bits of storage advice we have seen repeated and want to correct. Acrylic paint does not spoil from being near water — water is what you thin and rinse it with. What actually shortens its life is the lid being left off, so it dries in the pot, and heavy dilution with water, which can let diluted paint go off over months. Keep the lids on, keep it at room temperature, and do not freeze it. If a pot has thickened, a drop of water and a stir usually brings it back, and every design in our range also has a matching replacement set if a color is genuinely gone.
A sensible first project
Not a set of wine glasses. Curved, vertical, transparent and destined for a dishwasher is the hardest combination in the category, and it is what every tutorial starts with.
Start with a flat panel or a straight-sided jar. Flat means no runs, and a jar with a candle or a string of lights inside shows you immediately how transparent color behaves when it is lit from behind, which is the whole reason to paint on glass rather than paper.
Common questions
Do I need a primer on glass?
Not a canvas primer. A thoroughly degreased surface does most of the work. If the paint you bought sells a matching surface conditioner, use it.
How do I fix a mistake?
Wipe it off while it is wet with a damp cotton bud, or scrape it off with a fingernail or a plastic card once dry and before curing. Glass is the one surface where mistakes are genuinely easy to remove, which is the compensation for how hard it is to make paint stick in the first place.
Can I paint the outside of a window?
Interior side only. Outdoor exposure will break down almost any craft glass paint within a season or two, whatever the bottle claims about weather resistance.
What about the leading in stained-glass imitation work?
Outlining liner from a nozzle, applied first and left to dry fully before any color goes into the spaces. If you fill a section before the outline has set, the color bleeds under it and the whole effect goes.
Is this a good project to do with children?
Glass and children are a judgment call rather than a recommendation we would make for you. If you do, use jars rather than stemware, keep the oven step to yourself, and remember that nothing painted should end up near a mouth.
We make paint by numbers kits rather than glass painting kits, so there is nothing for us to sell you at the end of this one. If a numbered canvas is closer to what you were after, the range is here.


