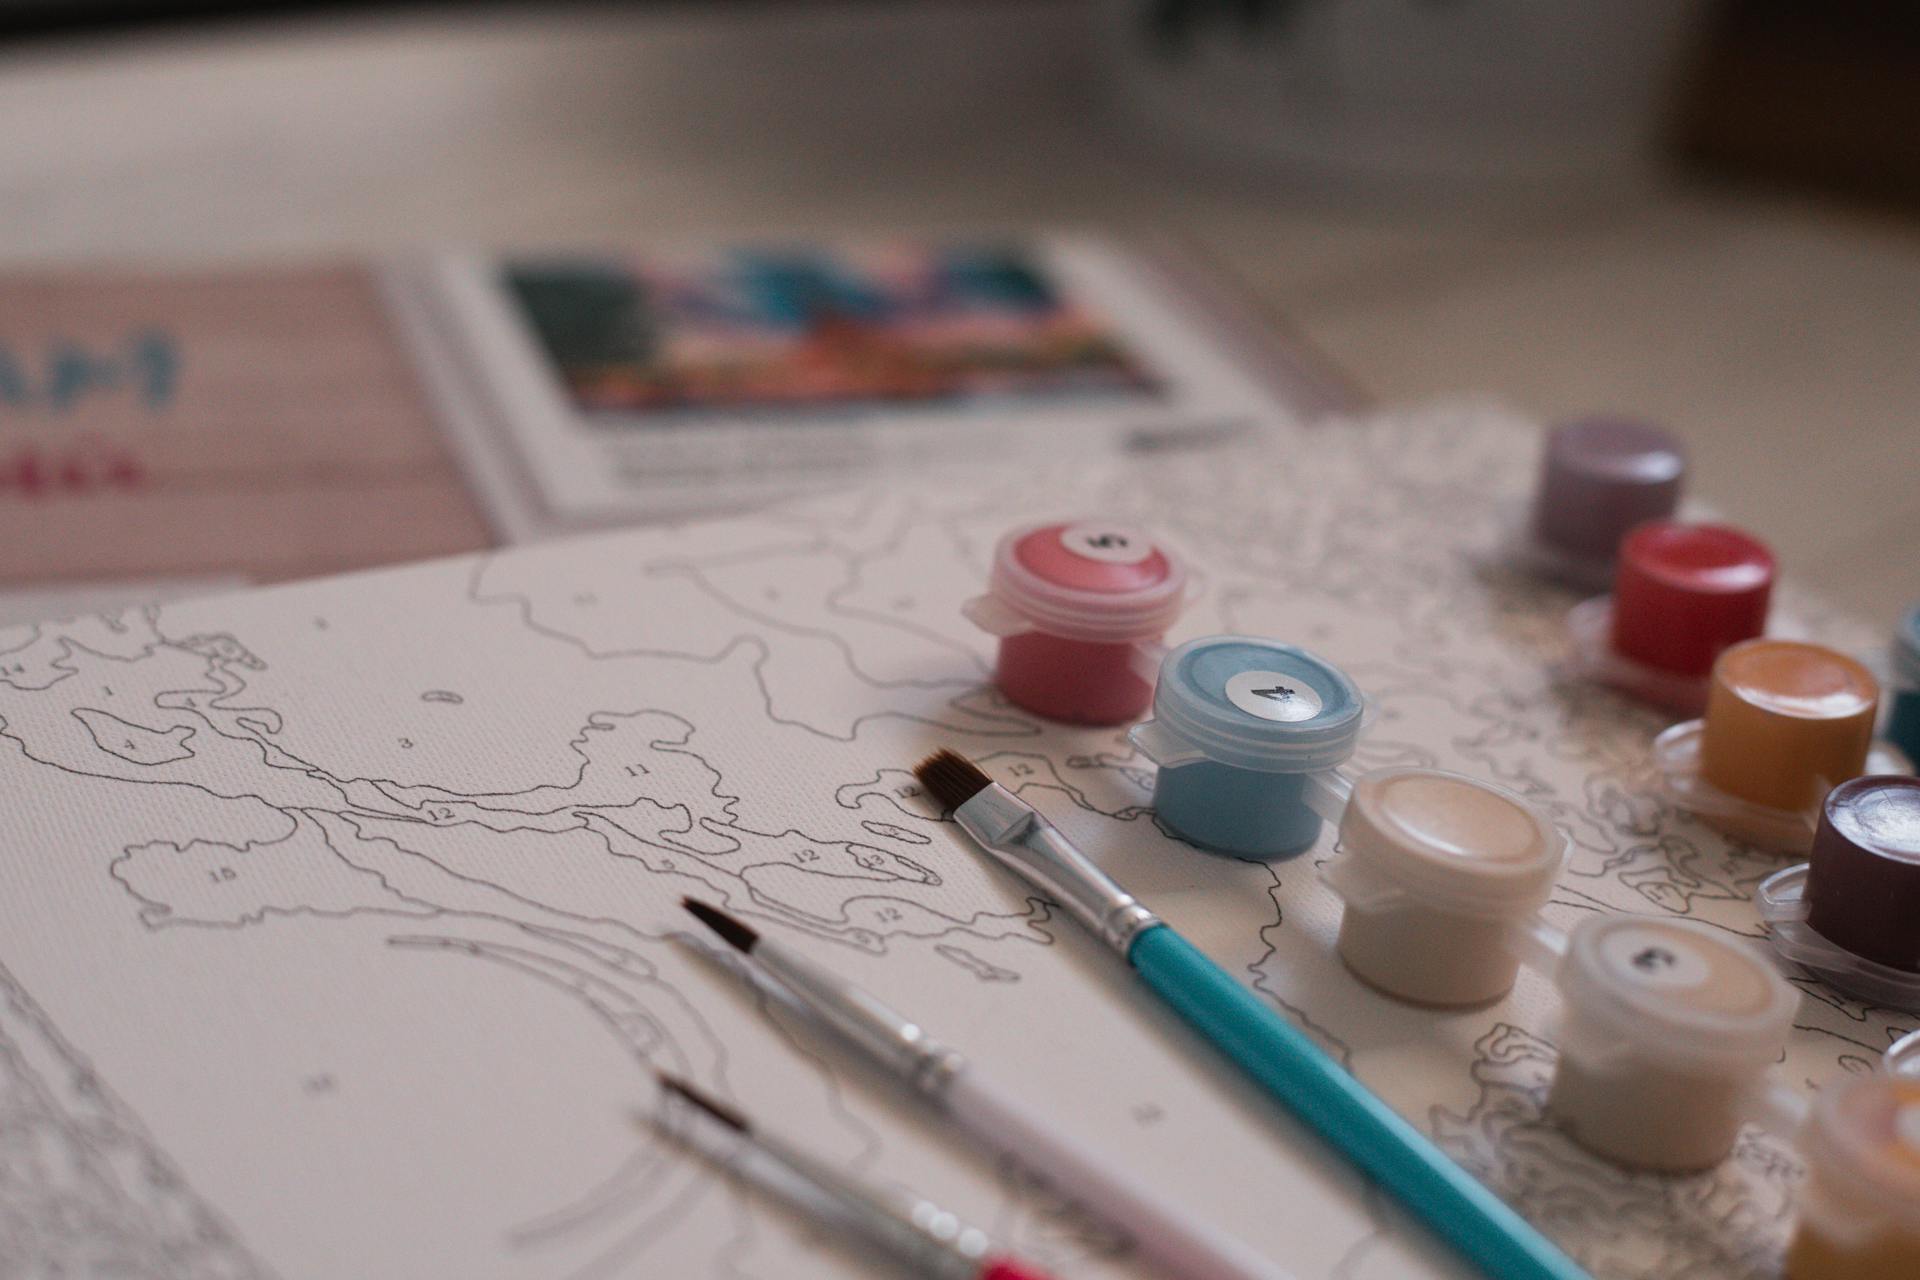
Creating a beautiful piece of art with your paint by number set can be incredibly rewarding, but it sometimes comes with challenges like paint bleeding through the canvas. This common issue can detract from your artistic success, leaving you frustrated. Luckily, with a few simple strategies, you can effectively prevent this while enhancing your painting experience. Armed with the right knowledge and preparation, you'll ensure that your art remains as vibrant as you intended.
Paint bleeding happens when color seeps into unwanted areas, usually due to excess moisture or a lack of preparation on the canvas. Whether you're a seasoned artist or a beginner, understanding how to prevent this can save you time and bring more joy to your painting sessions. We aim to help you maintain the integrity of your artwork, allowing you to focus more on creativity rather than troubleshooting.
Understanding Paint Bleeding
Paint bleeding is more than just a minor inconvenience. It can change the entire look of your paint by number set and complicate the process of creating clean, bordered areas on your canvas. But what precisely causes this to happen? The main culprits are usually linked to basic factors such as a damp surface, overloading the brush with too much paint, or inconsistencies in the texture of the canvas.
Even high-quality canvases can suffer from paint bleeding. They might absorb more paint than expected, especially if they're not adequately prepared. When considering paint by number sets, it's important to recognize that every canvas has potential variances in its surface texture and absorbency, which may contribute to bleeding if unattended. For instance, if we liken it to wrapping a gift, using too much tape can create a mess that hides the elegance of your wrap. Similarly, applying too much paint overwhelms the canvas, leading to the unwanted spread of colors.
Common causes of paint bleeding include:
- Excessive moisture on or beneath the canvas
- Application of thick layers of paint too quickly
- Lack of primer or other sealant before painting
- Using large brushes for small, detailed areas
Being aware of these causes is the first step in preventing them. As you work on your masterpiece, keep an eye on how much paint you're applying and how damp your painting surface becomes. This awareness can drastically reduce the chances of encountering bleeding issues.
Preparing Your Canvas
Before you dive into painting, preparing your canvas adequately is a crucial step in the process. Proper preparation not only minimizes the risk of paint bleeding but also sets a solid foundation for your artwork. Here's how you can ensure your canvas is in top shape:
1. Clean the Canvas: Begin by wiping your canvas gently. Remove any dust or debris using a soft cloth to ensure a smooth painting surface. This helps paint adhere better and prevents unwanted textures.
2. Prime the Canvas: Applying a thin layer of primer or gesso creates a sealant surface, reducing paint absorption and enhancing brightness. Primer acts like a barrier, preventing moisture from affecting your work as you move along with your paint by number set.
3. Dry the Canvas Thoroughly: Ensure that your canvas is completely dry before you start. This avoids any moisture that can cause the paint to seep where it's not supposed to.
4. Check Tools and Materials: Use quality brushes and paints that are specifically suited for the type of canvas you're using. Quality materials more effectively interact with the canvas, reducing the likelihood of bleeding.
By following these steps, you create an ideal starting point for your painting. Armed with a properly prepared canvas, you can confidently begin your artwork, knowing you've laid the groundwork for a masterpiece free from unexpected smudges and errant paint marks.
Techniques to Prevent Paint Bleeding
After preparing your canvas, it's time to explore ways to combat paint bleeding. There are several effective techniques that artists use to maintain the clean, crisp lines that are so important when working with a paint by number set. Let's delve into some of these methods.
- Apply a Light Primer Coat: Using a light primer coat helps seal the canvas fibers. This process stops excessive absorption of paint. You don’t need to apply a thick layer. Just a thin, even coat can make a significant difference.
- Seal with Varnish or Fixative: After priming, applying a clear sealant like varnish can further protect your work. This adds an extra layer of defense against unwanted bleeding and helps your colors pop.
- Choose the Right Brush Sizes: Using brushes of the correct size for the area you're working on helps immensely. Small details demand small brushes; this reduces the risk of applying too much paint at once. Keep your movements precise, avoiding the temptation to hurriedly cover larger areas.
- Control Your Paint: Moderation is key. Load your brush, but ensure it isn’t dripping. An overloaded brush increases the chances of paint bleeding. Practice loading just enough paint to get a smooth application without excess.
Painting with these techniques can greatly enhance your enjoyment and the outcome of your painting sessions. It’s all about taking the time to do things right and appreciating the process.
Troubleshooting Common Issues
Sometimes, even with careful preparation and technique, you might still face paint bleeding. It’s a part of the learning curve and can be corrected with a bit of patience. Here are some simple solutions:
- Allow Proper Drying Time: If you notice wet paint starting to bleed, pause and let the area dry. Rushing often exacerbates the problem.
- Remove Excess Paint: When bleeding happens, gently blot the excess with a small piece of white paper towel. Be gentle to avoid disturbing the rest of the artwork.
- Cover with Background Color: If you can, cover the bleed with an adjacent background color. This often disguises mishaps well without affecting the overall look.
Implementing these troubleshooting steps can save your artwork from being sidelined by pesky issues. By addressing problems immediately, you'll maintain the flow of your creative process.
Wrapping Up Your Painting Session
As you reach the end of your painting session, it's important to take a few key steps to preserve the work you've put into your art piece. This will help ensure that your paint by number set remains vibrant and ready for final touches.
- Clean Your Brushes Properly: Immediately cleaning brushes prevents the paint from hardening. Use warm water and gentle soap to rinse them out thoroughly.
- Seal Your Artwork: Consider applying a final sealant once the paint is completely dry. This protects your painting from dust and fading, and it adds a professional-looking finish.
- Store Your Kit Partially Assembled: Keep your paints, brushes, and canvas together in a safe, dry place. It’s essential to ensure the paints are sealed tightly to prevent them from drying out.
Taking these steps will not only safeguard your current project but also make starting the next one smoother and more enjoyable.
Preserve Your Art with Ledgebay
We’ve explored crucial steps to prevent and address paint bleeding, enhancing your painting experience from preparation to preservation. By using these techniques and solutions, you can bring your creative visions to life with confidence and less stress. Always remember that each painting session is an opportunity to improve your skills and enjoy your creative journey. Your artwork deserves the best, and with a bit of awareness and care, you'll continue crafting stunning pieces time and again.
Explore more about how you can enhance your art projects with a quality paint by number set from Ledgebay. Whether you're looking to create stunning masterpieces or just unwind with a relaxing hobby, our collection offers a variety of choices tailored to your needs. Browse our paint by number set options to transform your creative endeavors and bring your visions to life.


