If you’ve been mid-project on a paint-by-numbers kit and opened a container only to find dry, flaky paint, you’re not alone. Acrylic paints, like the ones included in many kits, tend to dry out fast when left uncovered or stored carelessly. It doesn’t take long. Sometimes, one open afternoon is all it takes for a once-smooth color to become unusable. Whether this happens halfway through your design or near the end, it can completely throw off your progress and your mood.
The good news? There are easy ways to keep that from happening. Keeping your paint fresh is really just about routine and a little prep. You don’t need fancy tools or a complicated setup. A few small steps can help you protect your paint-by-numbers supplies and make sure you enjoy every part of the painting process from start to finish.
Proper Storage Of Paints
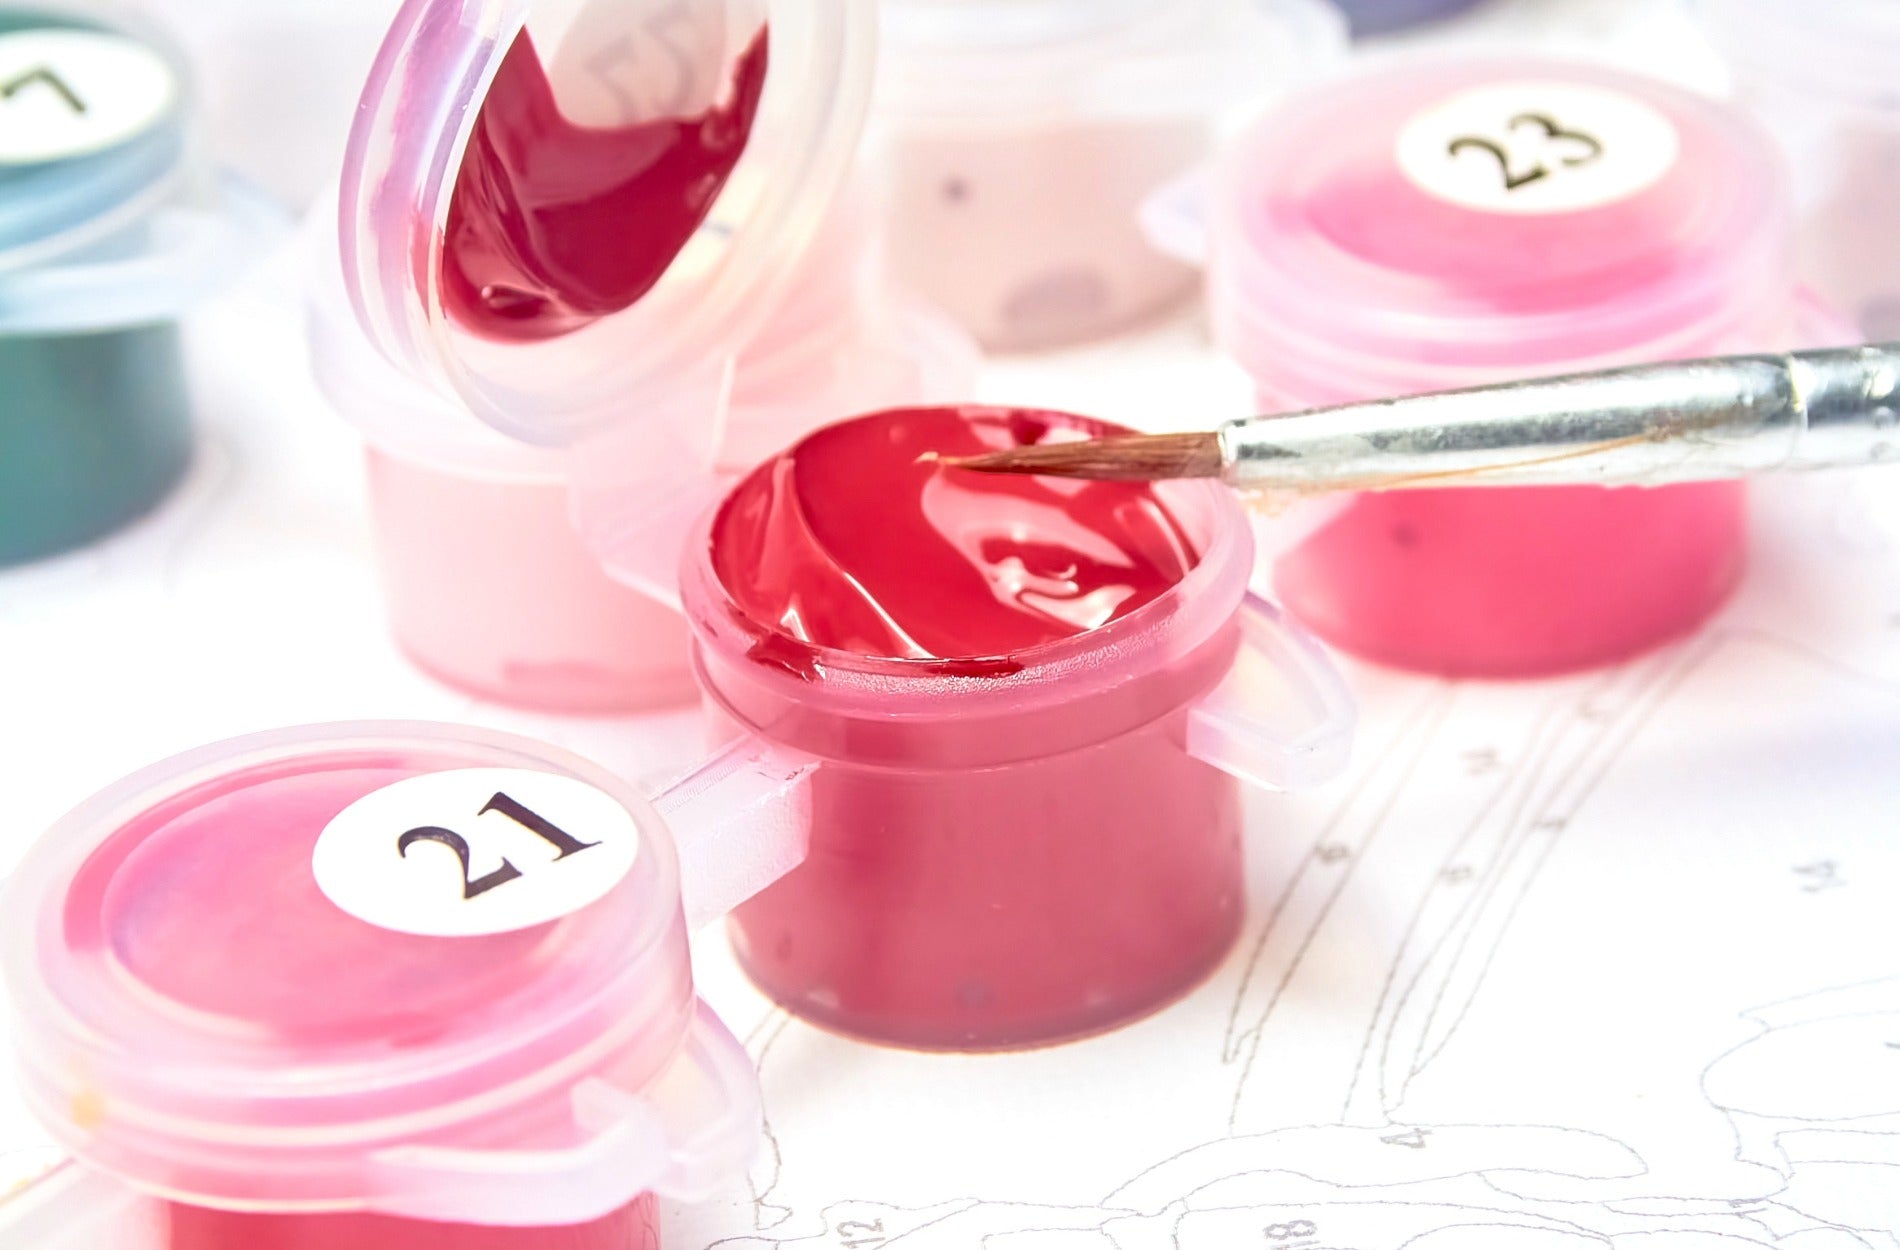
Your first line of defense is how and where you store your paints. Keeping your paint containers in good shape between sessions makes a big difference. Acrylic paint dries when it's exposed to air. That means as soon as a lid is cracked open, the countdown starts.
Here are a few simple habits that help stop drying before it starts:
- Always close the lids tightly. Every time you finish using a color, pop the cap back on. Even leaving it open for ten minutes can dry out the top layer.
- Wipe the edges before closing. A clean seal helps lids close properly. Paint build-up around the rim can stop the container from locking all the way.
- Keep your paints away from heat. Store them in a spot that’s cool and dry, like a closet or art drawer. High temperatures or direct sunlight will speed up drying even if the lids are shut.
- Don’t store them near windows. Just like with food, fluctuating temperature from sunlight can ruin your paints over time.
- Group paints upright in a small box. This keeps them from tipping over and spilling or leaking, and it also gives you a quick way to check that all tubes are closed.
Getting into these habits doesn’t take much time. It’s usually just a matter of closing everything when you pause or finish for the day. One example: many painters keep a small plastic bin or toolbox just for their active project’s paints. When the painting session ends, the box goes right onto a closet shelf with paint containers standing, sealed, and clean.
This kind of routine works really well and takes away the stress of paint emergencies the next day.
Using Painters’ Helpers
Even with good storage, sometimes little helpers can keep your paints feeling fresh a bit longer. If you’re planning a longer project, maybe you're working on a large design or one with a lot of small sections, you’ll want to add a few backup tricks to your setup.
Some useful items to keep handy include:
- Airtight baggies: If you’re worried a seal isn’t perfect, pop the whole container into a small zip-lock bag and seal it tight.
- Cling wrap: A small sheet over the paint cup before putting the lid on can give an extra air barrier. Just press it down gently over the surface.
- Damp sponges or cloths: Placing a lightly damp (not wet) sponge inside your storage bin adds moisture to the air around the paints without soaking them.
- Plastic egg cartons or sealable craft trays: These can be used when pooling paint during harder sections of the project. Make sure they have lids with decent seals.
These tools help control the air, temperature, and moisture around your paints, especially during longer breaks between painting sessions. When used right, they can stretch the lifespan of every tiny cup of color. That means fewer dried-out surprises and more progress without hunting for replacements.
The key is combining clean habits with a few smart storage tools. Each one adds another layer of protection, giving your paints a better shot at staying fresh throughout your paint-by-numbers experience.
Practical Painting Tips
Even if your paint is stored well, your painting habits can affect how long it stays usable. If you tend to leave containers open while you work, that could be drying them faster than anything else. Small changes in how you set up your painting space can improve your paint's lifespan.
Treat your paint like food. Don’t leave it out longer than it needs to be. While it’s tempting to open all your colors for quick access, limiting how many you expose to air can save you a lot of hassle. Just scoop out what you’re going to use and seal the rest. It’s a good move especially if you’re the type to get lost in a painting session and forget what’s sitting out.
Consider these habits for longer, smoother use:
- Only open what you plan to paint with during that session.
- If possible, work in a cooler part of the house or during cooler times of the day. Heat shortens the life of open acrylic paint.
- Try using a wet palette. Unlike a dry paint tray, a wet palette keeps paint from drying too fast by suspending it over water.
A wet palette might sound technical, but it’s actually simple. Think of it as a sponge base with a layer of paper on top. The moisture from the bottom keeps the paint on top nice and workable for longer periods. If you do a lot of detail work, like shading tiny flower petals or matching skin tones, it can really smooth out the process.
Painting feels better when you’re not racing against paint hardening mid-stroke. These tweaks don’t take long to set up and can ease the flow of your sessions, especially if you like to slow down and enjoy the process piece by piece.
Reviving Dried-Out Paints
Even the most careful painter runs into a dried-up container at some point. Sometimes it's a lid that wasn't fully clicked shut. Other times it’s a color that just sat too long between uses. Before you toss those stubborn paints out, try bringing them back to life.
Here’s how to rehydrate small amounts of acrylic paint and get them usable again:
1. Open the container and check for cracks or flakes. If it’s rock solid, it might be too far gone.
2. If it’s just thick or partly rubbery, start by adding one or two drops of clean water.
3. Use a toothpick or small stir stick to slowly mix the water in. Add more as needed, but go slow.
4. Still lumpy? Try warm (not hot) water and give it a few minutes to absorb before stirring again.
For more flexible results, you can also use an acrylic medium. These are meant for paint and can help regain that original smooth texture without thinning the color too much. Whatever method you use, avoid adding too much liquid or you could weaken the coverage. Go slow, stir well, and test a bit on scrap paper before jumping back into your main piece.
Think of it like reviving a jar of jelly that started to sugar over. Just because it’s not perfect doesn’t mean it’s useless. Sometimes a little water and a little patience go a long way.
Keep Your Paints Project-Ready
When your paints are fresh and easy to work with, painting is a lot more fun. You won’t have to worry about fighting with clumpy colors or stressing over lost details. Even better, you’ll stay in that creative zone longer without annoying hang-ups pulling you out of it.
Taking care of your supplies doesn’t have to get in the way of your art. A couple of mindful habits, simple storage tools, and staying a step ahead of dry-out problems will go a long way. Whether you're just starting a new kit or are halfway through a custom photo design, your setup can support a fun, relaxing painting process.
Most people don’t think about this until they run into a problem. But with these quick and easy steps, it’s easy to stay ahead of the issue. Keeping your paint-by-numbers supplies in top shape means fewer interruptions and more time to enjoy the parts of painting that make you happy.
Keep your paint-by-numbers journey smooth and enjoyable by making sure all your supplies are in top shape. It's all about bringing creativity to life without unnecessary interruptions. If you're ready for your next artistic adventure, explore our wide variety of paint-by-numbers supplies from Ledgebay to keep your creativity flowing beautifully.