


The two names get used interchangeably and they are not quite the same thing. The difference is not pedantry: it decides what you buy, what it costs, how long it takes and what you end up with.
The Difference
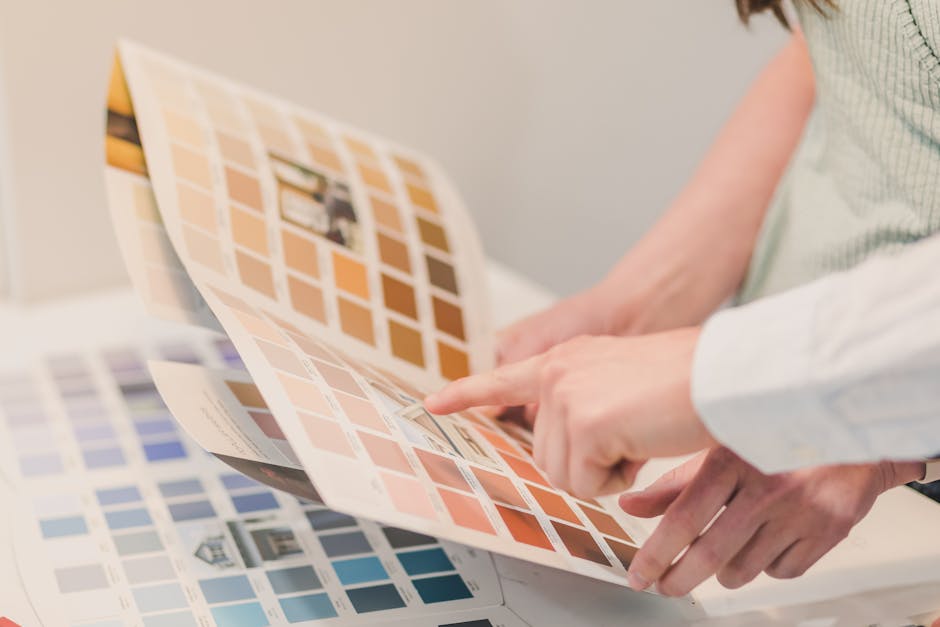
Color by number is paper. A printed outline, numbered sections, filled in with colored pencils, markers or sometimes watercolor. Usually a single sheet. Usually an hour or two. It sits in the same family as an adult coloring book, with the color choices made for you.
Paint by number is canvas. A primed cotton canvas printed with the design, with premixed acrylic paints numbered to match, and brushes. Ten to twenty-five hours across a few weeks. What you end up with is a painting that can be framed and hung.
Everything else follows from paper against canvas.
Which One Suits You
Color by number is better if you want something you can pick up for twenty minutes and finish this week. If you like colored pencils, which are genuinely more forgiving than paint because you build up tone gradually instead of committing in one pass. If you want to try the format before spending anything. Or if you are doing this with a child, where paper and no drying time is simply more practical.
Paint by number is better if you want something on the wall at the end. If you want a project that lasts several weeks rather than an evening. If part of the appeal is handling actual paint. Or if you want the finished thing to look like a painting rather than a colored-in drawing, which comes down to opacity: paint covers the printed lines completely, pencil never quite does.
There is no hierarchy here. Plenty of people do both, for different moods.
Making a Color by Number by Hand
Making one for somebody, as a gift or for a grandchild, is a genuinely nice thing to do and it is a much smaller job on paper than on canvas. It takes an evening.
1. Pick a simple image
Simpler than you think. A single object, an animal, a house, a flower. Something with a clear outline and no more than half a dozen distinct parts. Complexity is the thing that turns this from an evening into a fortnight.
2. Get the outline down
Trace it. There is no virtue in freehand here and nobody will ever ask. Print the image, lay tracing or transfer paper over it, and go over the lines. Or tape it to a bright window and trace directly onto your paper.
Draw only the boundaries between color areas, not the details inside them. If the whole roof is one red, it is one shape, however many tiles are on it.
3. Decide the colors and number them
Six to ten for a hand-made sheet. Assign a number to each and write a key at the bottom of the page: a small swatch of each color with its number beside it.
One rule worth following, because it is what makes the finished thing look like a picture rather than a diagram. Give the same object more than one number where it turns away from the light. A tree with a lighter green on the sunlit side and a darker one on the shadowed side reads as a round tree. A tree with one green reads as a green shape. Two numbers instead of one, and the whole sheet lifts.
4. Write the numbers small and light
In pencil, small, near the edge of each shape rather than in the middle. They need to be coverable. A bold number in the center of a pale yellow area will still be visible when the sheet is finished, and that is the most common mistake in home-made ones.
5. Test it yourself first
Photocopy it and fill one in before you hand it over. You will immediately find the two shapes that are too small, and the two colors that are too similar to tell apart in the key. Fix those on the original.
Doing It With Software Instead
You can feed a photograph to a color by number generator and get an outline and a key automatically. It is faster and it is much less controllable. The tool has no idea which part of the picture matters, so it spends detail evenly and will happily produce a thousand tiny regions from a patch of grass.
If you go that way, keep the color count between twelve and twenty-four, turn the smoothing up until the specks disappear, and generate at the size you will actually print. Our guide to color by number makers covers the settings in detail.
Paper Choices, If You Are Painting Rather Than Coloring
- Not ordinary printer paper. It buckles the moment it gets wet and stays buckled. Heavy card at minimum, watercolor paper ideally.
- Let inkjet prints sit overnight. Fresh water-based ink can smear into wet paint. Laser prints do not have this problem.
- Work light to dark with pencil, dark to light with paint. They genuinely are opposite. Pencil builds up in transparent layers so you start light. Acrylic is opaque and light covers dark far more easily than the reverse, so you start dark.
Where Home-Made Stops Working
On paper with pencils, a hand-made sheet is entirely practical and the whole job is one evening.
On canvas with paint, it stops being practical quickly, and the reason is the paint rather than the drawing. You need perhaps twenty specific mixed colors, all kept usable over the several weeks a canvas takes, with more of any one of them mixable weeks later to match a section already painted. Acrylic dries in minutes. That is the wall home projects hit, and we went through it properly in making a custom kit at home.
Once it is finished, making the piece stand out on the wall is more about placement and framing than about the painting.
If You Want the Canvas Version
Our kits arrive with the canvas already printed and rolled in a tube rather than folded, the paints premixed and vacuum-sealed, brushes in a range of sizes and an 11 by 17 inch reference print. Sizes are 12x16 and 16x20 framed, and 16x20 unframed.
If the image you want is your own photograph, we make custom kits from photos, printed in the USA, up to 18x24 inches. The catalog is here and the beginner's guide covers the working order.


