


The brushes that come with a paint by numbers kit do the whole job. This is not an article arguing you need better ones — we do not sell brushes separately, so there is nothing to sell you here. It is about knowing which brush in the set does what, because using the wrong one is the most common reason a section comes out messy.
Our kits include brushes in a range of sizes with wooden handles. Here is what each shape is for.
The four shapes and what they do
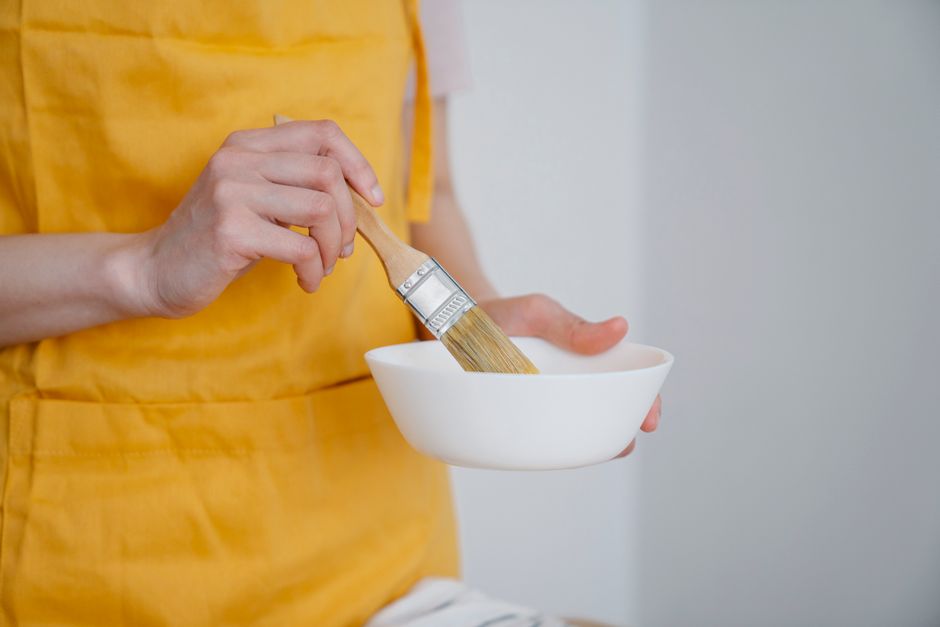
Flat
A square-ended brush with a broad tip. This is the one for skies, water, fields and any large block of a single color. It holds a lot of paint and covers ground quickly, and because the end is straight it will also cut a clean edge along a long boundary if you turn it side-on.
Use it first. Working down from the largest sections is both faster and less frustrating than starting with detail.
Round
A brush that tapers to a point. The most versatile shape in the set — press harder for a wider stroke, lift for a thin one. Good for mid-sized sections and for anything with a curved boundary, which a flat brush handles badly.
Filbert
A flat brush with a rounded end. It splits the difference between the other two: enough width to fill an area, and a curved tip that will not leave a hard corner mark when you lift it. This is the best choice for foliage, clouds, rock and anything with soft irregular edges, and the one to use if you want to soften the join between two wet sections.
Liner or detail
A small brush with a fine point, sometimes with unusually long bristles. This is for the last five percent — branches, railings, window frames, whiskers, eyes, the highlight in a lantern.
Two things about it. First, it carries very little paint, so expect to reload constantly; that is the brush working correctly, not a fault. Second, it wants slightly thinned paint to flow, but only slightly — a single drop of water stirred into the pot. Over-thinned paint on a fine brush will bleed past the line, which defeats the point.
Matching the brush to the section
The single most useful habit: pick the largest brush that fits comfortably inside the section you are painting.
People instinctively reach for the small brush because it feels safer, and it is the wrong instinct. A small brush in a large area leaves visible streaks where each stroke overlaps and takes four times as long. A large brush in a small area means pressing harder to get into the corner, and pressure splays the bristles sideways past the line. Both faults are visible in the finished piece.
A few more things worth knowing:
- Draw the boundary first, then fill. Place the brush a hair inside the printed line, run along the edge, then fill the middle. Coming at the line from the outside is how you cross it.
- Wipe the brush on the rim before it touches the canvas. Paint should be on the brush, not hanging off it.
- Lay the paint down, do not scrub. Working back and forth pushes paint outward past the edge and lifts what is underneath.
- Dry the brush after rinsing. A brush still holding rinse water carries it into the next color and thins it without you noticing.
Looking after them
Kit brushes will last several canvases if they are cleaned properly, and will be ruined in one evening if they are not.
- Never leave a brush standing in water. This is the one that ruins brushes fastest. The bristles take a permanent bend against the bottom of the jar, and water creeps up into the ferrule and softens the glue holding the bristles in. A brush that has been left in a jar overnight is usually finished.
- Rinse before the paint sets. Acrylic dries in minutes and cures hard. Once it has set in the base of the bristles there is no removing it, and the brush loses its point permanently.
- Wash with lukewarm water and a little mild soap. Work it gently through the bristles with your fingers, rinse until the water runs clear, and check right down at the ferrule where paint hides.
- Reshape while wet. Draw the bristles back to a point or a straight edge between your fingers before you set it down. They dry in whatever shape you leave them.
- Dry flat, or hanging bristles-down. Standing a wet brush upright lets water run into the ferrule. Flat on a towel is easiest.
- Store them dry and loose. Once fully dry they can stand upright in a jar. Crammed in a drawer, the tips bend.
Do not use solvents. Acrylic needs nothing stronger than soap and water, and solvents will damage synthetic bristles.
If you want to add to the set
We do not sell brushes on their own, so this is genuinely just advice. If you find yourself wanting more than the kit provides, the useful additions are a smaller liner than the one you have, for very fine work, and a wider flat if you often paint large backgrounds.
Buy synthetic, not natural hair. Natural bristle swells and goes limp in water, which is exactly what acrylic requires; synthetics keep their shape and their point. You do not need to spend much — a mid-range synthetic set from any craft store is more than adequate for this, and the difference between that and an expensive one will not show in a numbered canvas.
If a brush in your kit has arrived splayed or shedding, that is worth telling us about rather than working around.
For more on how the paint itself behaves, layering acrylic paint covers working wet into wet and dry over dry, and stopping paint bleeding covers the edge problems most often blamed on the brush. You can browse the designs in the full catalog.


