


Acrylic is built for layering. It dries fast, and once dry it is insoluble — so a new layer sits cleanly on top of the last one instead of lifting it. That single property is what separates working in acrylic from working in oil or watercolor, and everything below follows from it.
Here are seven rules that cover the fundamentals, in the order you would actually use them.
Rule 1: Prime the canvas with gesso
The first layer should be gesso, which seals the weave and gives the paint something absorbent to grip. Load a wide brush, pull it across the canvas in one direction, let it dry, then sand lightly for a smoother surface. A second coat at right angles to the first gives a better result again.
White gesso is standard. Black gesso makes colors laid over it read deeper and moodier, and clear gesso adds tooth without hiding what is underneath. You can also tint gesso with a little acrylic color to start from a mid-tone rather than from white.
One exception: do not gesso a paint by numbers canvas. It arrives primed already, and another coat will obscure the printed numbers and outlines you need to see.
Rule 2: Lay a ground before anything else
A ground is a thin wash of a single color over the whole primed surface. Skipping it is the most common thing beginners do, and starting from bare white is what makes a finished painting look patchy and disconnected.
The ground does two things. It kills the white, so any gap you leave later reads as shadow rather than as a hole. And it gives every subsequent color something in common, which is most of what people mean when they say a painting looks unified.
Burnt umber, raw sienna and a thin blue-gray are reliable choices. A ground in a color opposite to your subject — a warm earth under a green landscape — will make the upper layers sing where it shows through in slivers.
Rule 3: Block in the big shapes first
Put down the main masses as flat areas of approximate color, with no detail at all. You are establishing where things are and how light or dark each area is, nothing more.
Get this stage roughly right and the detail almost paints itself later. Skip it and you will find yourself correcting the composition after you have already spent an hour on someone's eyelashes.
Mistakes here do not matter. Acrylic covers, and that forgiveness is the medium's biggest advantage.
Rule 4: Work from the top of the canvas down
Acrylic dries fast, but not fast enough to survive a sleeve dragging across it. Working downward means your hand rests on finished, dry areas rather than wet ones. If you are right-handed, working left to right helps for the same reason.
A sheet of paper under your hand is worth the trouble on anything you care about.
Rule 5: Dark before light
If you have come from watercolor, this reverses what you know. Watercolor is transparent, so lights must be preserved from the start. Acrylic is opaque, so it works the other way.
Put the darkest values down first. They dry insoluble, and each subsequent lighter layer covers them cleanly while letting a little show at the edges. Save the highlights — the brightest points of reflected light — for last, applied with a small brush and not much paint. Those final touches are what make a painting look lit rather than merely colored.
The same order applies to a kit canvas, for slightly different reasons, covered in our guide to starting with light or dark.
Rule 6: Work a layer in one session
Acrylic's speed is mostly an advantage and occasionally a problem. A color you mixed and left on the palette for twenty minutes may be unusable, and mixing the identical shade again is harder than it sounds.
Two practical habits:
- Mix more than you need. Running out of a custom color halfway through a sky is the most annoying way to lose an evening.
- Mist the palette. A fine spray of water every few minutes keeps the paint workable, particularly in a dry room. A stay-wet palette does the same thing more thoroughly.
Try to finish a given layer in one sitting so it has a consistent look. You can always paint over it, but an area worked in two sessions often shows the seam.
Rule 7: Varnish at the end
Optional, and worth doing on anything going on a wall. Different pigments dry to different sheens, so a finished painting often looks patchy for that reason alone, and a varnish evens it out and protects the surface.
Let the paint cure properly first — several days, not several hours. Better still, put a thin isolation coat of gloss medium down before the varnish, so the varnish can be removed and renewed later without touching your paint. Our guide to sealing a finished acrylic painting covers the sequence.
Acrylic compared with oil
Worth being accurate about, since a lot of what circulates is folklore.
Acrylic dries in minutes to hours, thins with water, cleans up with soap and water, and stays flexible as it ages. It dries slightly darker than it looks wet, which takes some getting used to.
Oil stays workable for days, which allows blending that acrylic simply cannot match, and it dries to a deeper, more luminous surface. It needs solvents, it requires the fat-over-lean discipline to avoid cracking, and it yellows over decades.
Neither is more durable in any simple sense. Oil paintings have lasted centuries and have also cracked and yellowed doing it. Acrylic is younger, so the very long-term record is shorter, but it stays flexible rather than becoming brittle. Choose on how you want to work, not on longevity.
Thin layers and thick layers
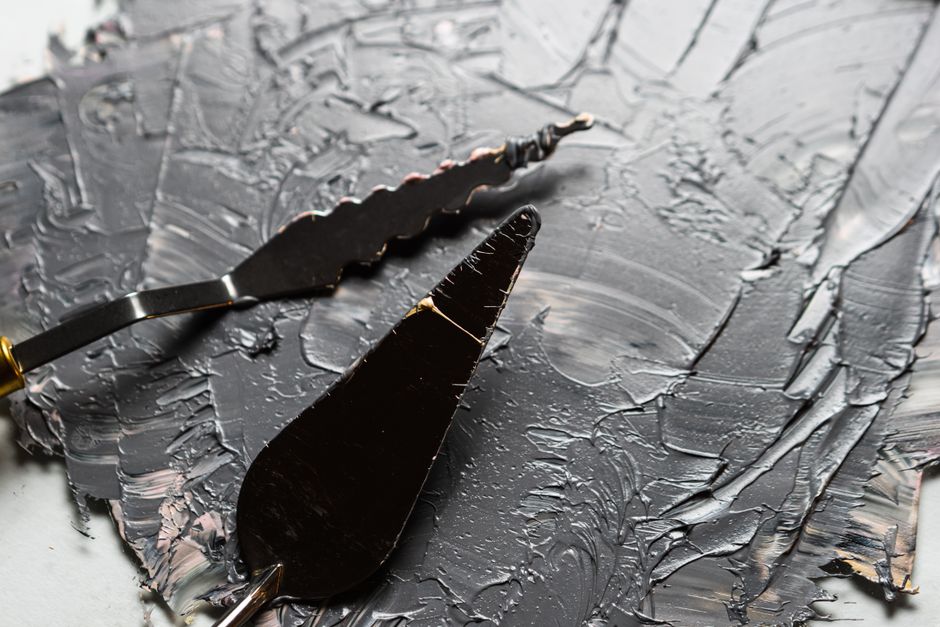
Applied thinly, acrylic is semi-transparent and lets what is underneath show through — the basis of glazing, where a thin colored layer over a dry one shifts the color without hiding it. Applied thickly it is opaque and holds the mark of the brush or knife, which is how texture is built.
Thin with an acrylic medium rather than water once you go past about a quarter water by volume. Beyond that you are diluting the binder that makes the paint stick, and the film weakens. There is more on this in our guide to what acrylic binder does.
A few practical answers
Are synthetic brushes right for acrylic?
Yes. Natural hair absorbs water, swells and loses its point in acrylic. Synthetic filaments hold their shape wet and last far longer. More in our guide to choosing brushes.
The surface matters as much as the brush. choosing a canvas for acrylic covers weight, priming, and why stretched canvas and board behave differently under the same paint.
How do I mix believable skin tones?
Start from a base of red, yellow and white, then adjust temperature with a touch of blue or burnt umber rather than reaching for black. Test on scrap and let it dry before judging — skin tones in particular shift noticeably as they dry.
Can I paint over a mistake?
Yes, once it is dry. That is acrylic's great advantage. Two or three coats will bury almost anything. Working at it while still wet only spreads it.
To sum up
Prime, lay a ground, block in the masses, work top to bottom, dark before light, keep each layer to one session, and varnish at the end. The medium is forgiving enough that none of these are unbreakable — but following them will get you a better painting with less frustration.
If you would rather practice brush control without also deciding the composition, a paint by numbers kit is a reasonable place to do it. You can see the designs in the shop, or look through the customer gallery.


