


All paint is the same two things: a pigment, and something to stick it to the surface. Change the binder and you change the medium. Pigment in drying oil is oil paint. The same pigment in an acrylic polymer is acrylic. In a gum arabic solution it is watercolor. That is the whole idea, and once you have seen it done the labels on tubes start to make a different kind of sense.
Making your own is not cheaper and it is not better than what you can buy. It is worth doing because it teaches you what you are handling.
Read this part first
The genuinely hazardous step in this whole process is the one at the beginning: opening a jar of dry pigment powder. Loose pigment becomes airborne easily, and inhaling it is the main exposure route that matters. Once the pigment is wet and bound, that risk largely goes away.
- Wear a properly fitted particulate respirator while any powder is open. A cloth or surgical mask does not filter pigment dust.
- Work on a surface you can wipe, in still air. Not under a fan, not near an open window with a breeze, and not in a room where anyone is eating.
- Wet the powder as soon as you can. Some makers dampen pigment with a little water or alcohol before doing anything else, precisely to stop it lifting.
- Wear gloves and long sleeves, and wash up with a damp cloth rather than sweeping or brushing, which puts dust back in the air.
- Start with the safe pigments. Earth colors — the ochres, siennas and umbers — plus the modern synthetic organics like the phthalos and quinacridones. Leave cadmiums, cobalts, chrome and especially lead white until you know what you are doing, and never handle lead white as a loose powder at home.
- No food, no drink, no pets and no children in the room.
The tools
Three things do most of the work, and they are the same across all three mediums.
A slab — a sheet of thick glass or a piece of marble, with the surface lightly roughened so the pigment has something to bite against. A muller, which is a flat-bottomed glass or stone grinder with a handle. And a palette knife to scrape the paint back into the middle between passes.
Grinding is not about making the pigment particles smaller. It is about wetting every particle completely with the binder so no dry pockets remain. That is why you keep going after it looks mixed.
Oil paint
Pigment ground into a drying oil — an oil that hardens by reacting with air rather than simply evaporating. Oil paint is the oldest of the three in anything like its current form; the earliest known oil-based paintings are the murals in the Bamiyan caves in Afghanistan, dated to around the seventh century.
Which oil. Cold-pressed linseed is the standard. It dries fastest and forms the toughest film, and it yellows the most. Safflower and poppy oil yellow far less and dry more slowly, which is why manufacturers often use them for whites and pale blues where yellowing would show.
Worth knowing about that yellowing: linseed oil darkens when a painting is kept in the dark for a long period, and it lightens again on exposure to daylight. A painting that has come out of storage looking dull is often not damaged at all.
You need: pigment, cold-pressed linseed oil, a slab, a muller, a palette knife, and empty tubes or small jars.
- Heap the pigment on the slab and make a well in the middle.
- Add oil into the well a little at a time, drawing pigment in from the edges with the palette knife.
- Keep working until you have a stiff, uniform paste. Err on the side of too little oil — you can always add, and an oil-heavy paint wrinkles as it dries and yellows more.
- Grind with the muller in small circles and figure-eights, scraping the paint back to the center with the knife every so often.
- Stop when the paint is glossy, uniform and shows no gritty specks against the glass. Different pigments take very different amounts of oil and very different amounts of grinding.
- Fill tubes from the closed end and fold the base over twice.
Acrylic paint
Pigment suspended in an acrylic polymer emulsion. It is the easiest of the three to make and the most forgiving, which is why it is the sensible one to try first.
You need: pigment, an acrylic medium or binder, a slab, a muller, a palette knife, water, and a dropper.
- Disperse the pigment first. Put it on the slab and work in a small amount of water — or a water and isopropyl alcohol mix, which wets stubborn pigments more readily — until you have a smooth paste with no dry lumps. Use the dropper; it is very easy to add too much liquid and very slow to take it back out.
- Add the acrylic medium and mix it through with the knife.
- Grind with the muller as above until it is completely uniform.
- Adjust with more medium for a thinner, more fluid paint, or more pigment for stiffer body.
- Store in an airtight jar rather than a tube. Acrylic skins over in a partly used tube far more readily than oil does.
Two things to expect. It will dry a shade darker than it looks wet, because the binder is milky when wet and clear when dry — always test on a scrap and let it dry before judging a color. And it dries fast, so mix what you will use.
Watercolor
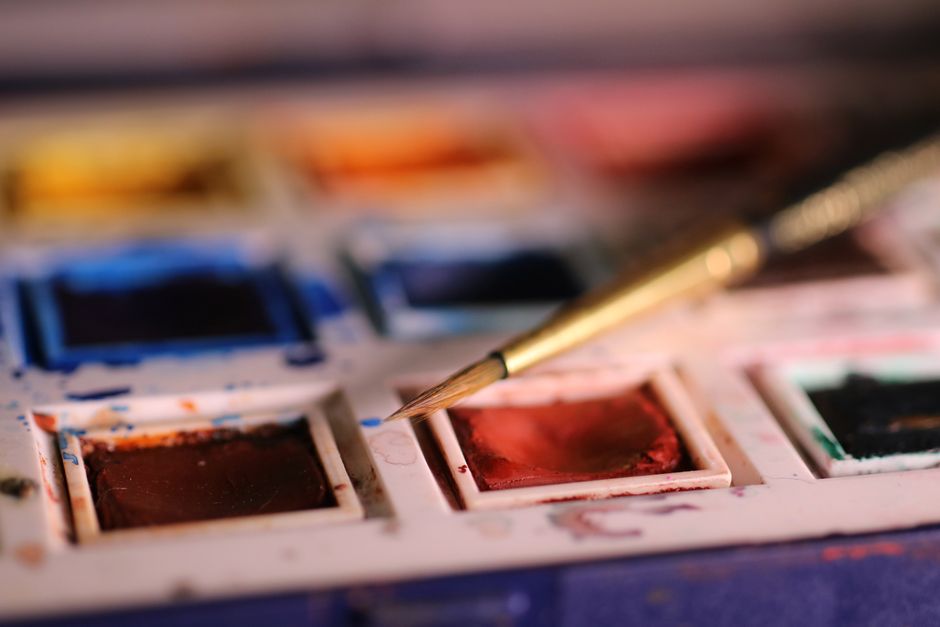
Pigment in a gum arabic solution. This one is made in two stages: you make the binder, then you make the paint.
The binder
You need: gum arabic powder, distilled water, glycerin, and optionally a couple of drops of clove oil.
- Mix roughly two parts gum arabic powder into four parts hot distilled water, stirring until no lumps remain. Hot water dissolves it far more easily than cold.
- Stir in about one part glycerin. Glycerin is a humectant — it holds a little moisture in the dried pan so the paint rewets easily and does not crack.
- Strain through muslin as you pour it into a jar.
- Two drops of clove oil will keep it from going moldy. Gum arabic solution is organic and will spoil.
- Let it stand a day or two before use, and keep it in the fridge.
The paint
- Add honey to the gum solution, roughly four parts solution to one part honey. Honey does much the same job as the glycerin and the two together give a pan that rewets more readily than either alone.
- Mix the binder into the pigment with a palette knife until you have a paste. The ratio varies enormously by pigment; start about equal and adjust.
- Grind with the muller until it is completely smooth. Watercolor shows grinding faults more than any other medium, because the paint is transparent and any unwetted particle sits there as a speck.
- Spoon into half pans and leave them to dry for several days. They will sink as they dry, so top them up and let them settle again.
Watercolor is the hardest of the three to use, for one reason: it is transparent, so a mistake cannot be covered. That transparency is also the whole point of it — light passes through the pigment, hits the white paper and comes back, which is where the luminosity comes from. Our note on watercolor papers covers the surface, which matters more here than in any other medium.
What this is actually good for
Grinding your own paint will not save you money, and a commercial tube from a decent manufacturer is more consistent than anything you will make at a kitchen table. What it gives you is an understanding of why colors behave differently — why one blue is transparent and another is opaque, why some pigments drink oil and others barely need any, why a cheap paint feels thin.
That understanding transfers directly to painting with paint someone else made. If you would rather skip the powder and get straight to painting, everything in our kit collection arrives with the acrylics already made and matched to the design, and the beginner's guide covers how to get going. Our note on what is actually hazardous in paint goes further into the pigment question.


