


Thick texture in acrylic comes from three places: the body of the paint itself, a gel or paste mixed into it, and the tool you apply it with. Get the first one right and the rest is easier — most people trying to build texture are fighting paint that was never going to hold a ridge.
Start with the right paint
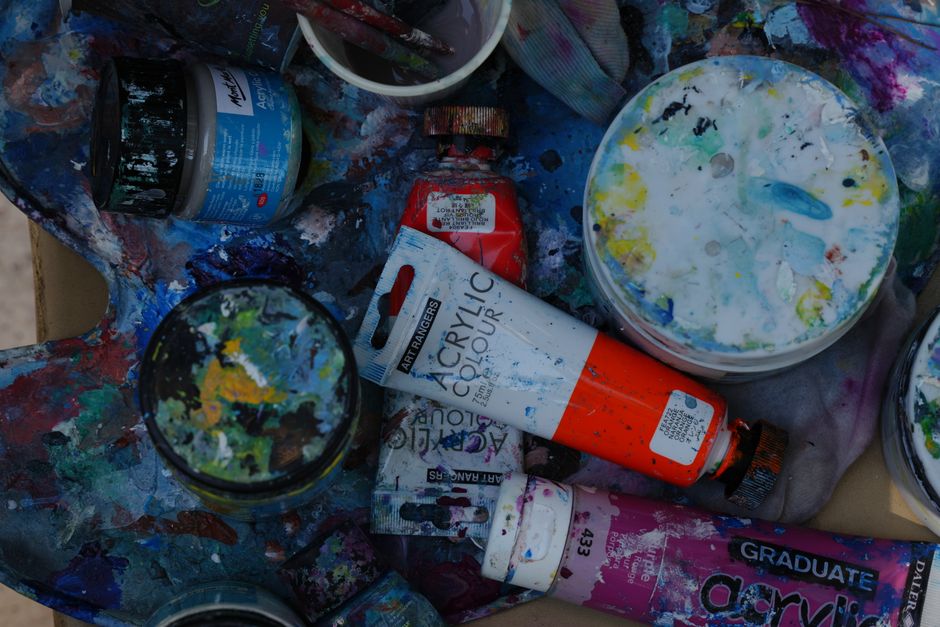
Acrylic is sold in different consistencies, and this is the distinction that decides everything:
- Heavy body acrylic has the consistency of soft butter. It holds a peak when you lift the brush away and keeps the mark of the bristles. This is what you want for texture.
- Soft body or fluid acrylic is closer to thick cream. It levels out as it dries, deliberately, so brush marks disappear. Excellent for flat even color, useless for impasto.
If your paint is settling flat no matter what you do, no amount of technique will fix it. You have soft body paint and you need heavy body, or a gel to thicken what you have.
Worth knowing: paint by numbers kits use soft body acrylic, on purpose. It levels flat and covers the printed numbers cleanly. It is the wrong paint for building texture, so do not judge your impasto attempts on a kit canvas.
Gels and pastes
These are the acrylic binder without much or any pigment. Mixed into your paint they add body without watering down the color the way adding more water would.
Gel medium
Comes in a range from soft to extra heavy, and in gloss, satin and matte. Gloss gel dries clearest; matte gel contains a matting agent that slightly clouds deep colors, so use gloss when you are mixing it into a dark.
Mix it in on the palette rather than trying to blend it on the canvas. A heavy gel will roughly double your paint volume without dulling it, which also makes expensive pigment go further.
One correction to something widely repeated: gel does not make acrylic dry faster. A thick layer of gel dries considerably slower than a thin layer of paint, because drying depends on water escaping and there is more of it to get out. Give it real time.
Modeling and texture paste
Stiffer than gel and usually opaque white. It holds a sharp shape — you can trowel it, comb it, or press a texture into it — and it is normally used to build the surface first, then painted over once dry.
That is the practical difference. Gel goes in the paint. Paste generally goes under it.
Pumice and sand gels
Pre-made gels with grit already suspended in them, in fine through coarse grades. They give a gritty, tooth-like surface that catches subsequent layers.
Adding sand yourself
You can mix sand straight into acrylic, and it works. Two honest cautions that most guides leave out.
Use clean, dry, fine sand. Not sand off a beach. Beach sand carries salt and organic matter, and salt will keep drawing moisture into the paint film for as long as the painting exists. Craft or play sand, rinsed and thoroughly dried, is fine.
Watch the proportion. Sand is inert filler — it does not bind to anything. Past roughly a third by volume there is not enough acrylic binder left to hold it together and the surface goes chalky and sheds. If you want a heavily sanded surface, use a sand or pumice gel, where the ratio is already worked out.
Using a palette knife
The knife is the main tool for this, and it behaves nothing like a brush. A brush drags paint into the weave; a knife lays it on top.
- Load the underside of the blade, not the tip, and lay the paint down rather than pushing it.
- Let the edge do the work. Drawn on its side it leaves a clean ridge; pressed flat and lifted it leaves a peak.
- Do not go back over it. The single most common mistake is reworking a knife mark until the texture is flattened out. One confident pass beats four careful ones.
- Wipe between colors or everything turns to mud quickly — a knife mixes far more efficiently than a brush.
How thick can you actually go?
This is where thick acrylic goes wrong, and it is worth knowing before you commit an evening to it.
Acrylic dries from the outside in. A very thick application skins over on top while it is still wet underneath, and as the trapped water eventually leaves, the surface can wrinkle, sink or crack.
- Build in layers rather than one deep slab, letting each dry properly.
- Use a gel or paste to add bulk instead of just piling on neat paint — they are formulated for it.
- Do not work cold. Below about 50°F acrylic cannot form a proper film, and thick applications crack. This is the reason a thick painting made in an unheated garage in winter fails.
- Allow days, not hours, before varnishing anything heavily textured. Touch-dry is not cured.
Other things worth trying
Texture does not have to come out of a tub. Pressing bubble wrap, hessian, a comb or crumpled foil into wet paste leaves a usable surface. Dragging a stiff brush through a thick layer gives directional grooves that catch the light.
Embedding actual objects — string, leaves, paper — works, but they are not archival. Organic material eventually breaks down inside the paint film. Fine for something decorative, worth knowing if you intend the painting to outlive you.
Where texture actually helps
Texture reads as light. A ridge catches the light on one side and casts a small shadow on the other, which is why an impasto painting changes as you move past it and a photograph of one never looks the same.
That makes it most useful where you want something to come forward — highlights, foreground, the lit edge of a form — and least useful in deep shadow, where it just creates confusing glints. Painting an entire canvas at the same thickness throws away the effect.
Our notes on layering acrylic paint cover building up in stages, and the color wheel is useful for deciding which colors are worth bringing forward.
If you want the brush time without the blank canvas
Texture work is a technique you practice, not one you get right first go, and a blank canvas is a discouraging place to practice it.
A paint by numbers kit removes the composition and mixing decisions so you can concentrate on handling paint. Just remember the paint in a kit is soft body, so it is for control rather than texture. There is also a custom version made from your own photograph if you would rather work from something personal.


