


For most paint by numbers kits, you do not need to mix anything. The colors are premixed to the design and numbered to the canvas, and that is the whole point of the format. Mixing is something you reach for in three specific situations, and this guide covers those and how to do it properly.
When you would actually mix
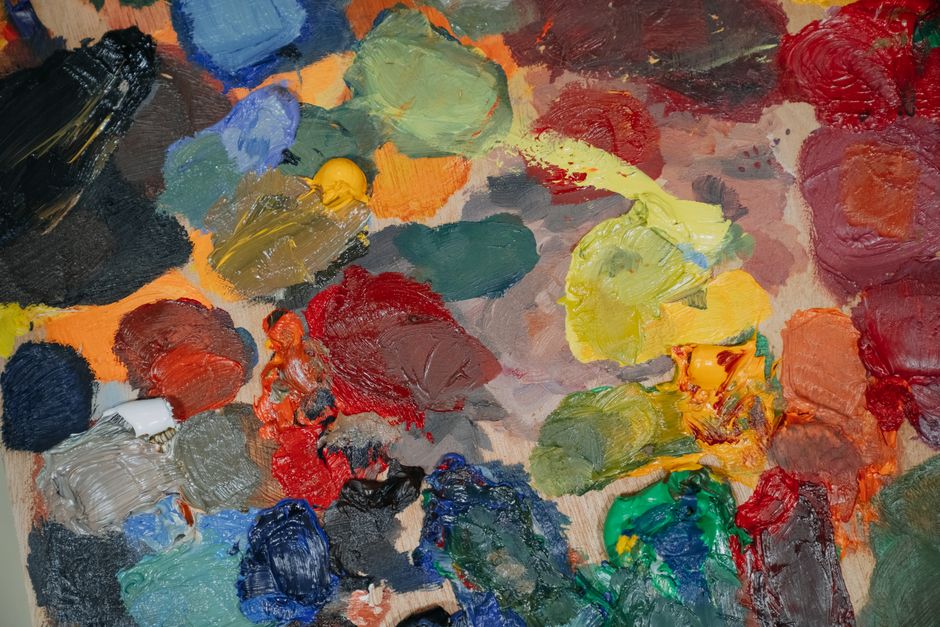
- You have run out of a color. Usually the sky or the background, because it covers the most canvas. Mixing a match is one option; a matched replacement set is the simpler one if your kit is a Ledgebay design.
- You want to change something. Nothing obliges you to follow the palette. People warm up a sky, cool down a shadow, or shift a whole painting to suit a room.
- You are going beyond the numbers. Adding highlights, shadow or texture that the kit does not provide means mixing tones that are not in the pots.
Outside those cases, mixing kit paints together mostly just uses up colors you will need later.
The color theory you actually need
Less than most guides suggest.
Three primaries: red, yellow and blue. These cannot be mixed from anything else. You also need white and usually a dark — but white and black are not primaries, they are how you control value.
Secondaries come from mixing two primaries: red and yellow give orange, yellow and blue give green, blue and red give purple.
Tertiaries come from a primary mixed with its neighboring secondary — red-orange, yellow-green, blue-purple and so on. These are where most realistic painting lives. Very little in a landscape is a pure secondary.
One correction worth making: mixing all three primaries does not give you black. It gives a muddy brown or a dark neutral gray, depending on proportions. That is genuinely useful — mixed neutrals look far better in a painting than black from a tube — but do not expect black.
There is more on how the wheel works in our guide to the color wheel.
Eight things that make mixing easier
1. Add the dark into the light, never the reverse
Start with the lighter color and add small amounts of the darker one. A drop of blue will change a pile of white; a pile of white barely touches a drop of blue.
Get this backwards and you will mix far more paint than you need and still not hit the shade. The same applies to opaque and transparent colors — add the opaque into the transparent, since it has much more covering power.
2. Add a little at a time
You can always add more. You cannot take it out. Proportions matter more than you would think: red and yellow at roughly equal parts gives a true orange, but shifting it to two parts red gives something quite different.
3. Test it dry, on the same surface
This is the one that catches everybody. Acrylic dries slightly darker than it looks wet, because the binder is milky when wet and clear when dry. Judging a match while wet will fool you every time.
Paint a test patch on scrap and let it dry properly before deciding. Use the same kind of surface if you can — color behaves differently on absorbent paper than on primed canvas.
4. Mix more than you need
Re-mixing an exact match later is much harder than mixing extra now. Store the surplus in a small airtight pot.
5. Write it down
A notebook with the proportions and a painted swatch beside them turns a lucky mix into one you can repeat. Two parts white, one part blue, a touch of raw umber — that is all it takes.
6. Fewer pigments give cleaner colors
Every additional pigment in a mix dulls it. For a bright, luminous secondary, mix two colors that are each made from a single pigment. Tube labels list the pigment codes.
Note also that primaries vary. Cerulean, cobalt, ultramarine and Prussian are all blue and will give you four quite different greens.
7. Do not always mix thoroughly
For flat areas of one color, mix completely. But for skies, water, foliage and anything organic, stopping just short leaves streaks of the two parent colors running through the mix, and that reads as far more alive on the canvas than a perfectly uniform tone.
8. Mixing across brands is fine
You may read that mixing acrylics from different brands causes a chemical reaction. It does not. All artist acrylics use the same basic polymer binder and mix together without any problem.
What does vary between brands is consistency, pigment load and sheen, so a mix of two brands may behave slightly differently on the brush. That is a practical difference, not a chemical one.
Tools
A palette — a ceramic plate, a scrap of glass or a sheet of baking paper all work. A palette knife mixes more thoroughly than a brush and does not wear the bristles out. For the tiny quantities a kit needs, the end of a brush handle or a toothpick is enough.
A word on toothpicks: they are useful for stirring small pots and for placing a dot of color in a very small section. They are not good for drawing fine lines — a toothpick drags and skips. A small round brush does that job far better.
Is mixing worth it?
In its favor: it frees you from the supplied palette, it saves waiting for replacement paint, and it teaches you more about color than any amount of reading.
Against: buying tube paints costs more than a replacement set, matching an existing dried color exactly is genuinely difficult, and on a large flat area even a slight mismatch shows.
The sensible line: mix when you are changing something deliberately, and buy a match when you are trying to continue what is already on the canvas.
You can see the Ledgebay designs in the shop, and there is more on running short of a color in our guide to replacement paints.


