


A fine brush that will not hold a point is the most common complaint people have about detail work, and it is almost never a fault in the brush. It is the result of three or four ordinary habits, and all of them are easy to change.
The most useful thing to understand first is that a brush is ruined from the back, not from the tip.
The parts, and which one matters
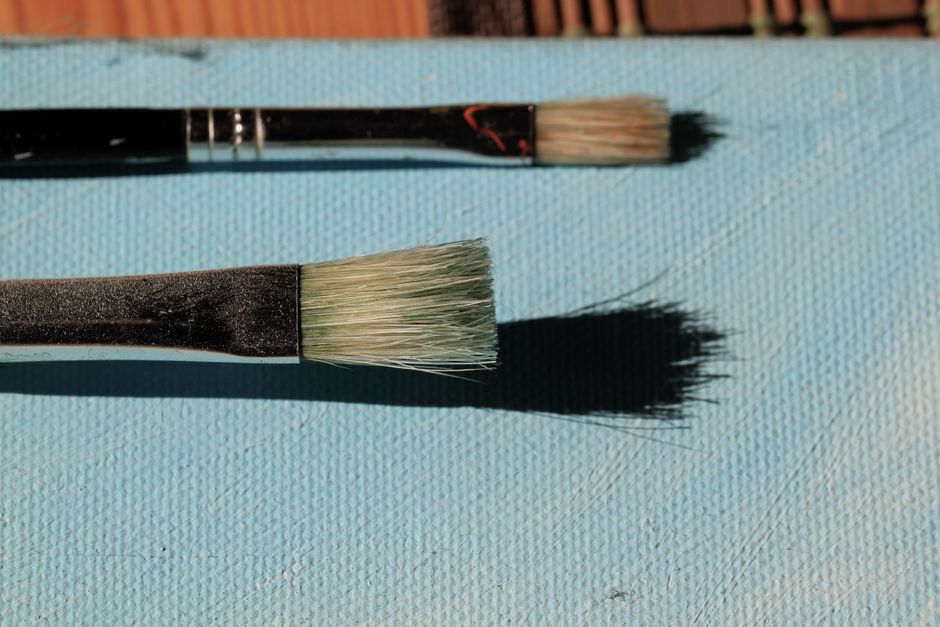
Every brush has the same anatomy. The tip is the working end, pointed on a fine round brush. The belly is the swell in the middle of the bristles, where paint is actually held; a small brush has very little belly, which is why it needs reloading so often. The ferrule is the metal collar that binds the bristles and fixes them to the handle.
The ferrule is the part that decides whether your brush keeps its point. It clamps the bristles into a shape, and that shape is what makes them converge at the tip. Anything that disturbs it disturbs the point.
1. Never let paint get into the ferrule
This is the single biggest cause of a splayed fine brush. Load the belly, not the base. If you push the brush into the paint up to the metal, some of it goes in behind the bristles, where you cannot reach it with a rinse.
Once it dries in there it sets hard, forces the bristles apart at the root, and no amount of cleaning at the tip will bring the point back. The brush is now permanently splayed, and it happened at the other end from where you can see it.
2. Warm water, never hot
Hot water does two things you do not want. It softens the glue holding the bristles inside the ferrule, which eventually lets the whole head come loose, and it helps set any acrylic already in the bristles rather than releasing it.
Lukewarm water and a little mild soap worked gently into the bristles with your fingertips is the correct method. Rinse until the water runs clear.
3. Never stand a brush in water
Even for five minutes. The bristles bend permanently against the bottom of the jar, and water works up into the ferrule and gets behind the crimp, which is exactly what loosens the glue and swells a wooden handle until the varnish cracks.
Lay brushes flat while you paint. Two jars of water help here as well: one to get the worst of the color off, one to rinse clean. A single jar becomes gray soup within the hour and puts that gray into your next color.
The full routine is short. how to clean paint by numbers brushes is a minute at the end of a session, and it is what decides whether they last.
4. Reshape before it dries
After the final rinse, draw the bristles gently between finger and thumb to bring them back to a point, then leave the brush flat or hanging bristles-down. Never dry a brush standing upright in a pot with the bristles in the air; residual water runs back into the ferrule.
A brush stored point-up in a jar is fine once it is thoroughly dry, provided nothing is resting against the tip.
5. Do not use the good brush for everything
Scooping paint out of a pot, stirring a thickened color and scrubbing at a stubborn patch all shorten a brush's life quickly. Keep an old or cheap brush for those jobs and reserve the fine one for putting paint on the canvas. It is a small discipline and it roughly doubles how long a good brush lasts.
6. If acrylic has already dried in it
Be realistic. Dried acrylic is a plastic film that has formed around and between the bristles, and it is not water-soluble any more. That is the whole reason acrylic works as a paint.
A proprietary brush cleaner or restorer, made for the purpose, is the only thing with a genuine chance, and even then a fine brush usually comes back with a slightly fuller, less precise point than it had.
What we would not do, and what this article previously recommended, is soak brushes in warm vinegar or in olive oil. Vinegar is an acid that attacks the ferrule and the adhesive inside it while doing very little to a cured acrylic film, heating it in a microwave is an unnecessary hazard, and olive oil is a non-drying oil that leaves a residue in the bristles which then contaminates every color you paint afterwards. Neither belongs anywhere near a brush you care about.
The wider question of brush care and when to buy your own is covered separately, including which habits actually shorten a brush's life.
7. Two habits that matter more than any of this
Rinse between colors, every time. Acrylic sets in the bristles within minutes, so the residue from the last color is already half hardened by the time you reach the next region.
Wipe the excess before the brush touches the canvas. Drag it along the rim of the pot. Too much paint on a small brush is what produces ridges, empties the pot early, and pushes color up toward the ferrule.
Choosing a small brush
If you buy one thing to improve a numbered kit, make it a single decent fine round brush. The smallest brush in most kits is the weakest of the set, and it is the one doing the hardest work.
Look for a head that comes to a real point when wet rather than a blunt wedge, a ferrule that is seamless or tightly crimped, and enough belly to hold paint for more than one region. Synthetic bristles are the right choice for acrylic; natural hair holds too much water and goes limp.
For the wider cleaning routine, our guide to cleaning fine tip brushes covers the rest. Where the small brush earns its keep is in the last pass of a canvas, tidying the printed outlines, which is covered in layering acrylic paint. And if you are setting up a table for a first kit, our guide for beginners is the place to start; our own designs are in the full collection.


