


Animals are a good subject for a beginner, but not all of them are equally forgiving. What makes one easy and another hard has very little to do with how big or familiar it is, and quite a lot to do with fur, eyes and symmetry.
What actually makes an animal easy to paint
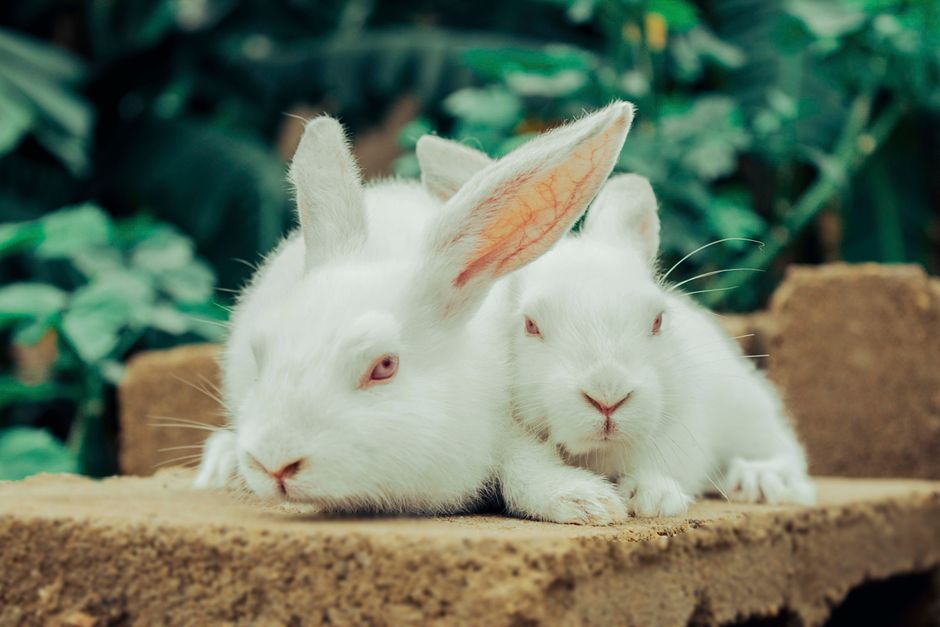
Four things, and they are worth knowing before you choose a subject rather than after.
- Bold, simple markings. An animal with large blocks of clear color is far easier than one with subtle gradations. A panda is easier than a rabbit, not because it is simpler in shape, but because its markings are hard-edged and unmistakable.
- Short or smooth fur. Long fur is the single hardest thing about painting animals. It needs many small directional strokes, and getting them wrong reads as fuzzy rather than furry.
- Eyes you can see clearly. Eyes carry the whole likeness. Animals with dark, simple eyes are much more forgiving than those with pale irises where every detail shows.
- A three-quarter view. Straight-on faces demand near-perfect symmetry, and any error looks like a deformity rather than a style. Turning the head slightly hides a multitude of problems.
Ten that are genuinely manageable
1. Panda
The easiest on this list. Black and white in defined patches, so no color mixing to speak of, and the markings do the drawing for you. Keep the black genuinely dark and let the white stay white rather than gray.
2. Sea turtle
The shell is a repeating geometric pattern, which means you can build it from shapes rather than judging organic contours. No fur at all. Greens and browns are easy to mix.
3. Raccoon
The mask around the eyes and the ringed tail are strong graphic features, and grays and browns are forgiving to mix. Get the mask right and it reads as a raccoon even if everything else is approximate.
4. Reindeer
The antlers look intimidating and are actually easier than fur — they are branching lines, drawn rather than rendered. Coat colors sit in a narrow brown-to-gray range.
5. Mouse
Small, round, and defined by two features: oversized ears and a long tail. Very little to get wrong, and the scale means you can finish one in an evening.
6. Cow
Patched markings, a large simple body, and a face that reads correctly even when loosely painted. There is a reason cows are a staple of beginner painting classes.
7. Owl
Front-facing eyes and a compact rounded body. The feather patterning is repetitive, so once you work out one section the rest follows the same logic.
8. Rabbit
Moderate rather than easy, and included because the shape is simple. The soft fur is the challenge — work from light to dark, and use short strokes in the direction the fur lies.
9. Lion
Easier than it looks. The mane can be suggested with loose strokes rather than described hair by hair, and a lion is instantly recognizable from very little information. Sketch the face structure before you paint.
10. Bear
The hardest here, and worth attempting once you have a few behind you. Coarse fur needs texture built in layers, and a dark animal gives you very little tonal range to work with. Use a paler mix on the edges where light catches the coat.
Painting fur
This is where most animal paintings succeed or fail, and the method is straightforward even though it takes patience.
- Block in the base color first, flat, over the whole animal. No texture at all at this stage.
- Add the shadows, a shade or two darker, where the form turns away from the light.
- Then build the fur, with a small brush and short strokes following the direction the fur actually grows. It grows outward and downward from the crown of the head, and changes direction around the joints.
- Highlights last, a lighter tone on the edges the light hits.
Use a nearly dry brush for the fur strokes — too much paint and the strokes merge into a smudge. Vary the tone slightly as you go, since uniform fur looks synthetic.
Eyes
Spend disproportionate time here. The eyes are what people look at, and a well-painted eye will carry a mediocre body.
Three things do most of the work: a dark, clean pupil; a ring of the iris color around it that is lighter than you expect; and a single small highlight, placed on the same side in both eyes, matching your light source. That last dot is what makes an eye look alive rather than glassy. Put it in last, in almost pure white, and do not add a second one.
Painting your own pet
A likeness is harder than a generic animal, because you know what the animal looks like and so does everyone you show it to.
- Choose the photograph carefully. Good light, eyes in focus, head slightly turned. A photo taken at your own eye level rather than looking down at them makes an enormous difference.
- Get the proportions before the detail. Measure the gap between the eyes against the width of the head, and check the muzzle length. Likeness lives in proportion, not in fur.
- Work light to dark on fur, which is the reverse of the usual order, because fur highlights sit on top and the dark base needs to be established first.
- Check it in a mirror. Looking at the painting reversed shows up errors your eye has stopped noticing.
Starting from a kit instead
If the drawing is the obstacle rather than the painting, a numbered canvas removes it — the proportions and the palette are already decided, so you are practicing brush control and fur texture rather than everything at once.
One difference worth noting: on a kit canvas, work dark to light rather than the reverse, because the darks cover the printed numbers in a single coat.
Ledgebay's wildlife designs — waterfowl, songbirds and other North American animals — are in the animals collection. And if the animal you want to paint is your own, a custom canvas made from your photograph is the most common thing our customers order one for. The customer gallery has plenty of finished pet portraits.


